Obtainium for Fun & Profit
Obtainium is everywhere. People throw stuff out that’s perfectly usable. Often it’s there, on the street or a community web page, waiting to be picked up for free by anyone who can see the potential.
Obtainium is environmentally justified. It conforms absolutely with the environmental mantra to reduce, reuse, and recycle.
Creating obtainium is also a moral good. The Bible — Leviticus 19:9-11 — approves.
“When you reap the harvest of your land, you shall not reap all the way to the edges of your field, or gather the gleanings of your harvest. You shall not pick your vineyard bare, or gather the fallen fruit of your vineyard; you shall leave them for the poor and the stranger.”
One day I noticed that someone was throwing out a large number of kitchen cabinets. Big, bulky, brown cabinets. Cabinets that had been outside for some time.
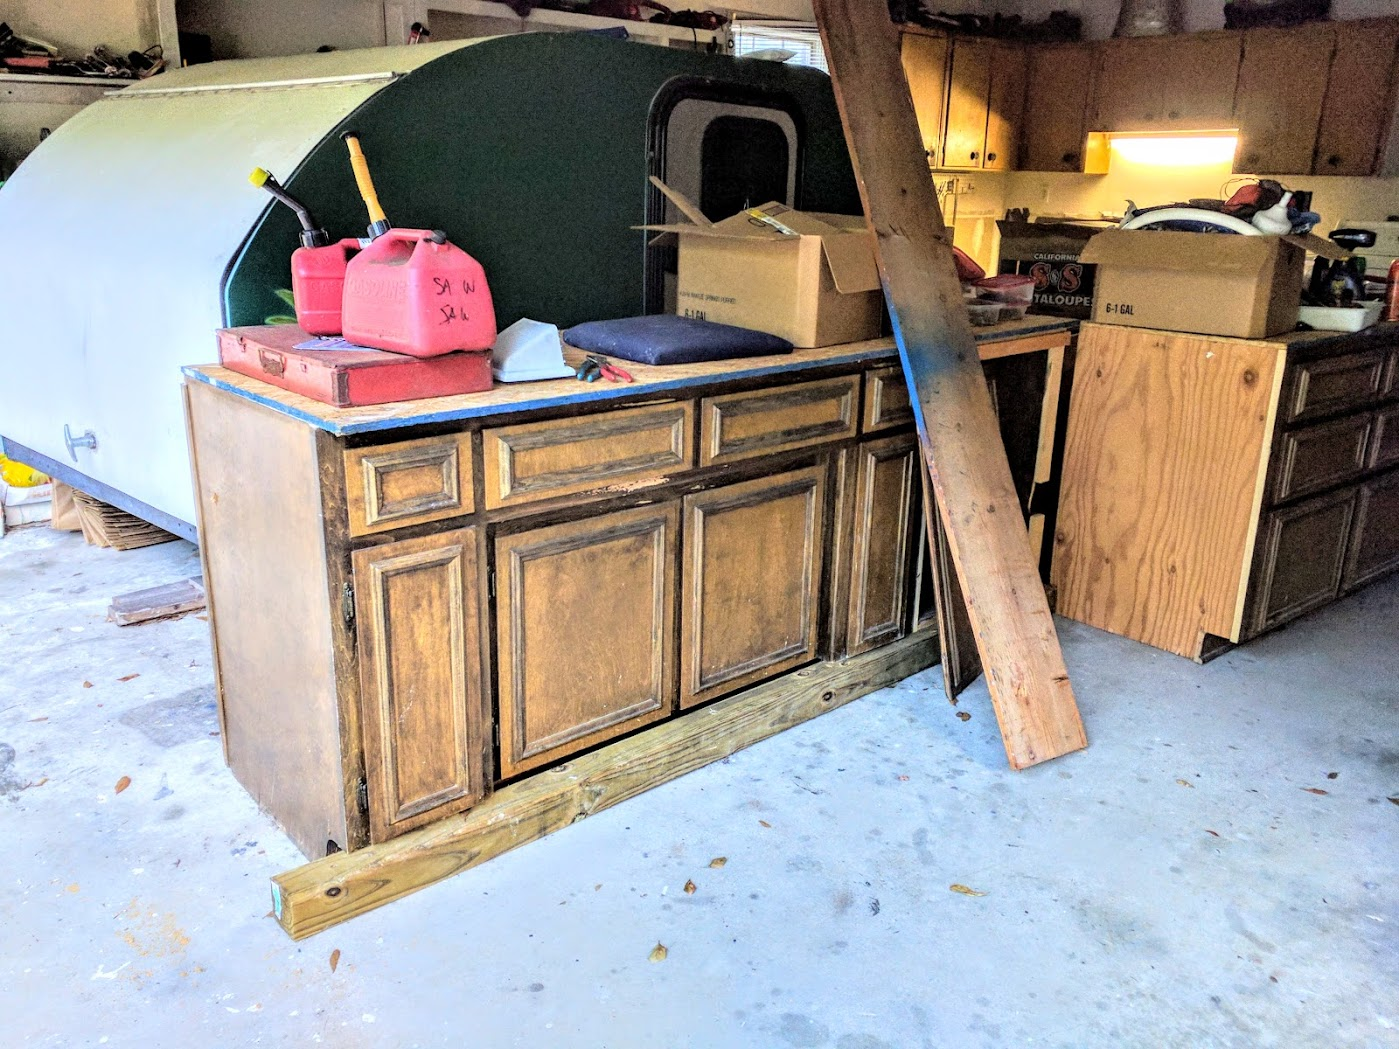
These cabinets were not in great shape. They had odd holes here and there where utility connections had run. The tops were made out of industrial plywood with rough surfaces. There were nails sticking out. But the cabinets were fundamentally solid.
However, on the good side, the cabinets were formed with real wood. The drawers slid in and out on rollers despite weeks and months of being left outside. If you bought them new each piece would cost a great deal of money. Installation would be extra – and expensive.
Obtainium Rules
- Obtainium exists to help the next person.
- No money or services change hands. This is not a sale situation.
- Obtainium is only available in “as is” condition. There is no guarantee regarding quality, functionality, or anything else.
- A donor loses title to any item placed on the street for pick-up.
- The donor offers items to all, without limitation.
- A donor has no right to question why an item is being picked-up.
- Obtainium is available on a first-come, first-grab basis.
- The goal is to help others, have more space, save removal costs, and reduce landfill tonnage. What’s not to like?
Permission Please
I spoke with the property owner and asked for three of the cabinets. He agreed, no charge. There was simply less for him to have hauled away. Next, for $75, I hired a guy with a trailer to bring them home.
The thought was that the new cabinets — properly restored — would replace the ancient, rotting cabinets now in our garage. The old ones were an eyesore. The wood had swelled so that the drawers did not move. Since they were not real wood, layers were peeling off. Also, shelving along one wall needed to go. It was in bad shape. Then, to fix up, I “just” had to put in the new cabinets; paint the walls, ceiling, and floor; and the garage would suddenly be spacious, usable, attractive, and an asset that increases the value of the house.
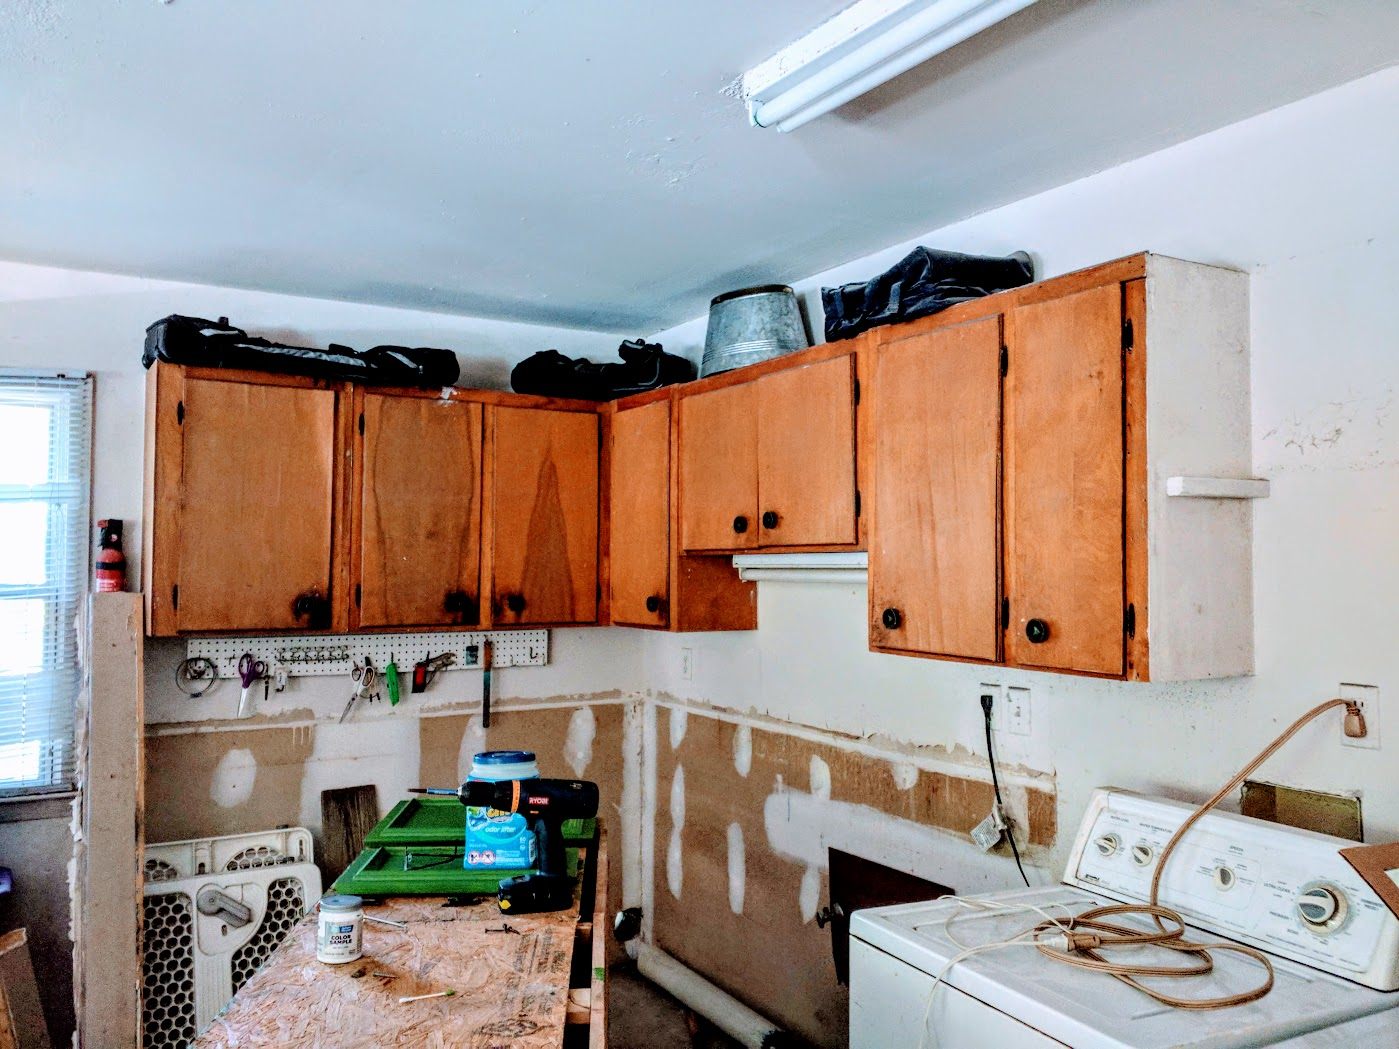
Step 1. Remove old cabinets and shelving. Unfortunately, the old cabinets and shelves were firmly nailed to the walls. Removing them required a heavy crowbar. The first pile of cabinets and garage junk was picked-up during the Mayor’s special, once-a-year, garbage collection for bulk items. There was no charge.
Plumbing
Step 2. Remove the old plumbing and 15-foot dryer vent. The vent was replaced with a 4” drain pipe from the Habitat For Humanity’s local ReStore outlet. The replacement pipe was painted to look new and connected to a new external vent. A sink ($15) from the ReStore outlet was added.
Step 3. Restore the walls. The garage is 23′ x 25″ or 575 sq. ft. There is a lot of wall surface. But, with some patience, the walls were patched and painted.
Step 4. Fix the obtainium cabinets. Each new cabinet had to be made safe. Heavy nails sticking through the sides had to be removed with a crowbar or cut off with a grinder. The surfaces were patched and painted, and the drawer mechanics repaired.
Moving heavy obtainium
Step 5. The cabinets had to be moved into place. The old temporary tops were removed, and the drawers taken out to reduce weight. Still, the cabinets were too heavy to easily move by hand. This meant dollies had to be placed under each one. The practical way to do this was to use an auto jack to raise the cabinets enough so that dollies could be slid underneath, one at each end. Once off the floor, each cabinet could be easily painted and then pushed into place.
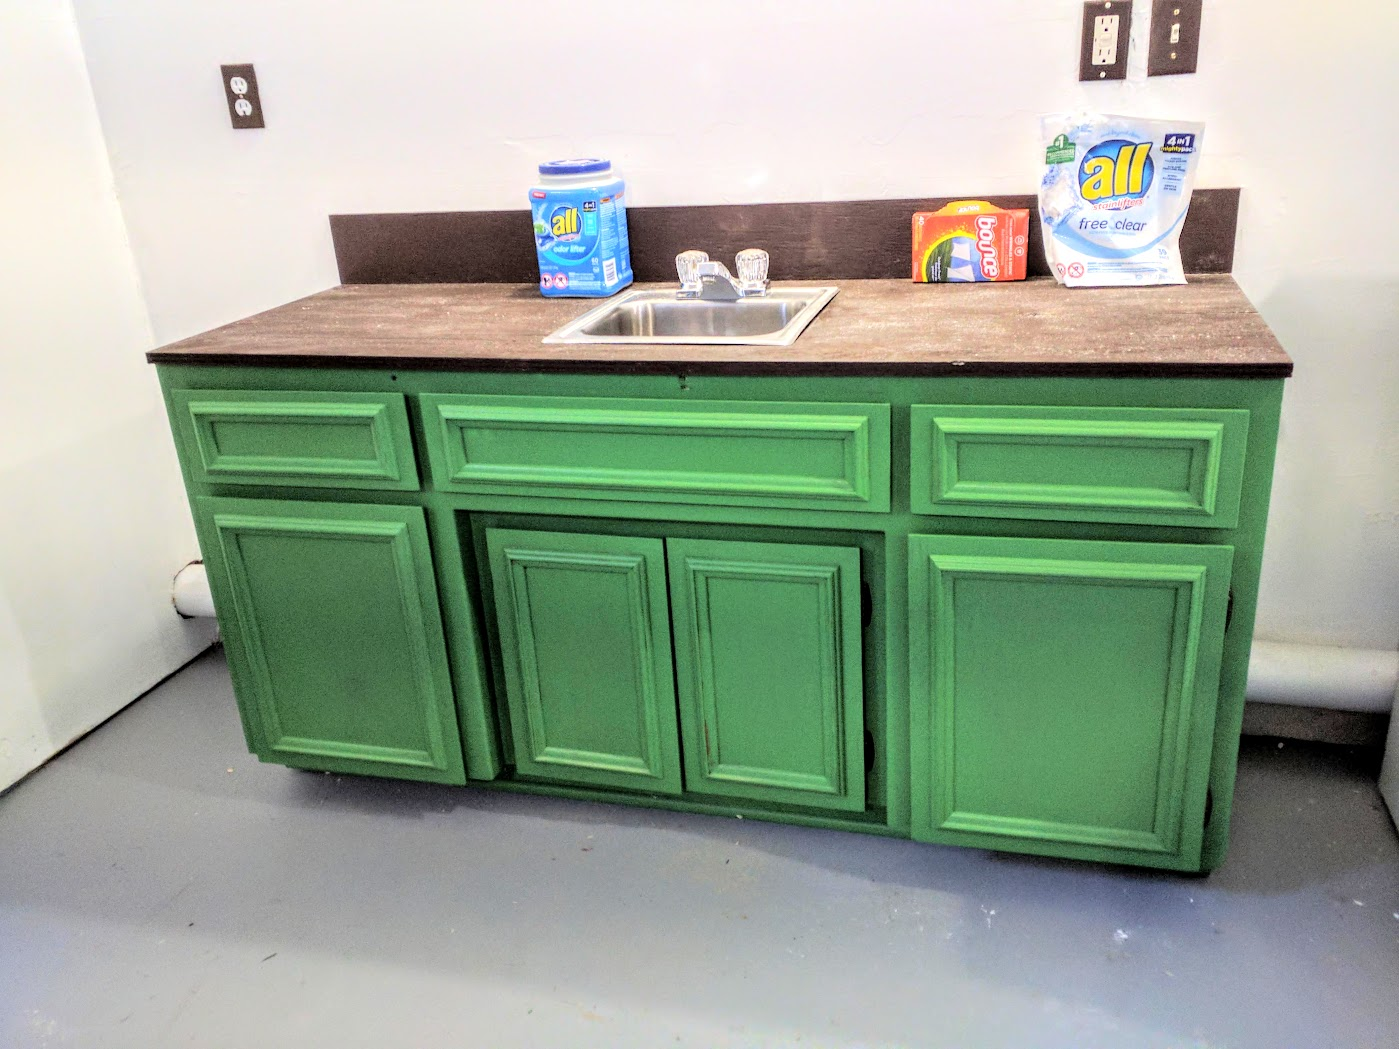
Step 6. One restored cabinet became the new utility sink and laundry-area cabinet. An area in the back of the cabinet was cut out, so the dryer vent could be run outside the house while the cabinet is flush with a back wall. A sink was added. The floor was painted gray.
Step 7. The two larger cabinets had to be repaired. This meant nails were removed, drawer mounts repaired, and holes fixed. New supporting wood was added, made from thick moldings that someone had left on the street… The cabinets were then painted, moved into place, and bolted together. Tops were added, and everything was adjusted with shims to be level and even. The walls were repaired and painted and the floor painting was started.
Step 8. Garage door
Of all things, a huge tree in a neighbor’s yard was hit by lightening. The resulting power surge knocked out our garage-door opener. The quoted cost to replace the opener was in excess of $600, however people sometimes change their garage door openers for newer and quieter systems. Thus it happened that someone within a few blocks mentioned on a Facebook neighborhood page that they had placed an old and perfectly-working opener on the street. A few minutes later it was mine.
I suspect I could have removed the old opener and installed the new one myself, however sometimes it makes more sense to have a professional do the work. In this case the door was metal, measured 18′ x 7′ feet, and heavy. Very heavy. Not only was a new opener needed, but there were various adjustments to be made. I had a local firm do the work and the next morning the entire job was done, including new remotes and safety sensors.

As to the garage door itself, it required scrapping, new paint, and — like a car — a touch of body filler here and there. The end result was something that pretty much looked like a new door.
In the end
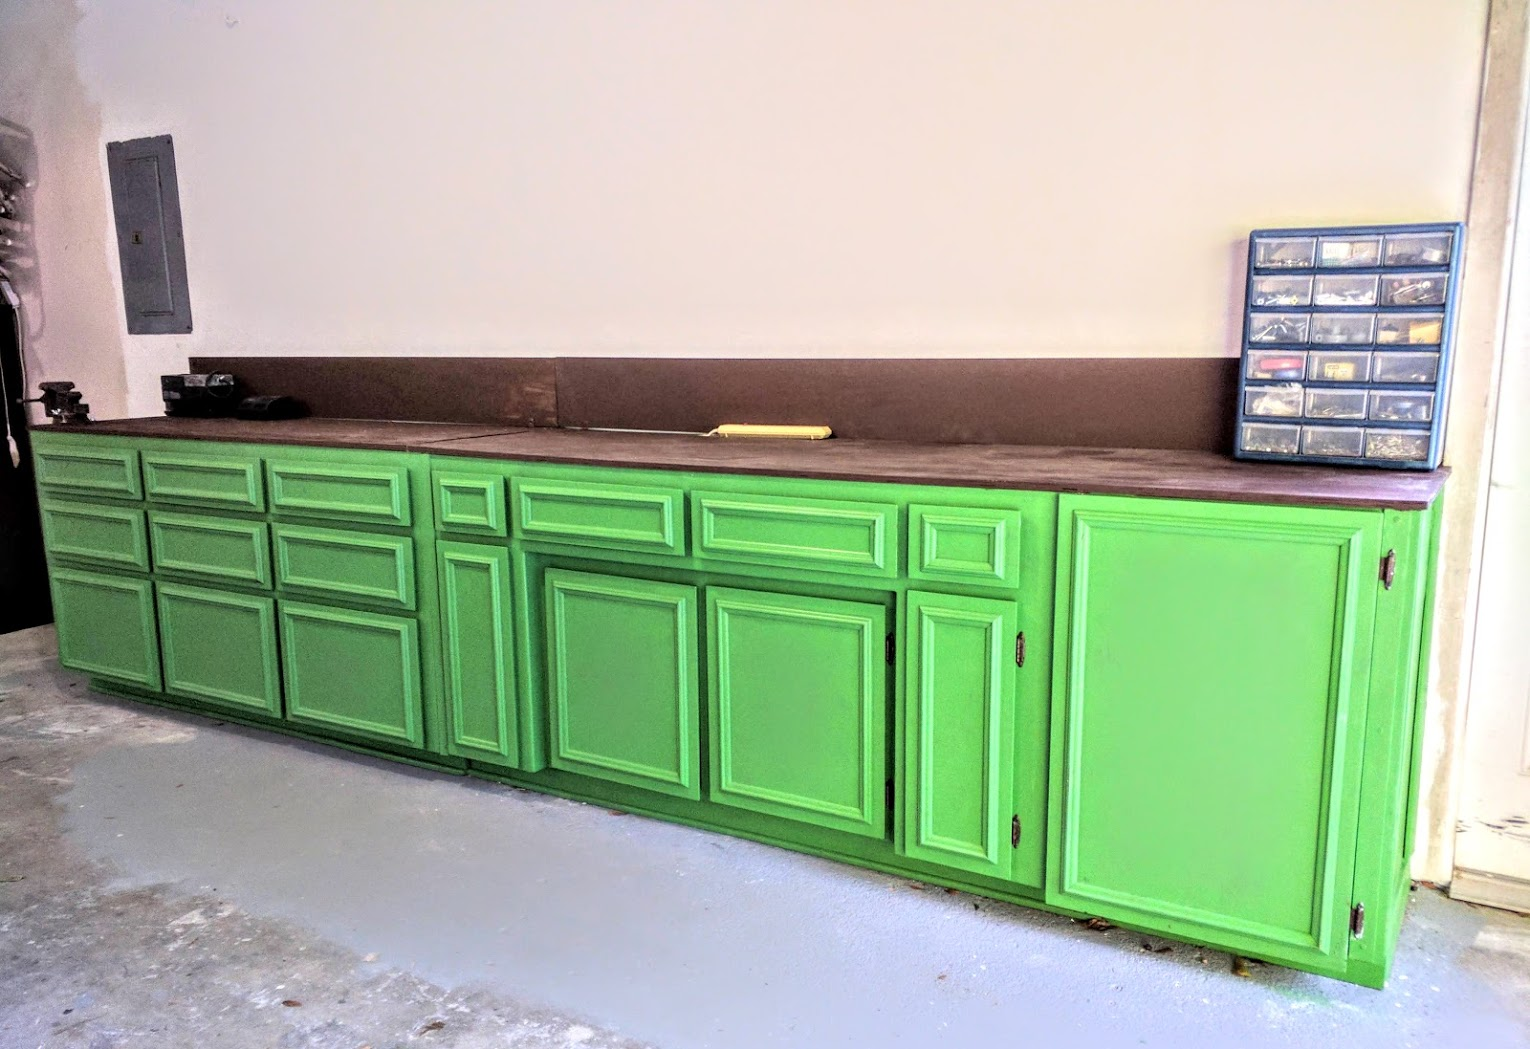
The long cabinet is now a shop bench. Various tools are inside, it’s wired for electricity, and there’s a vice at the end. It’s about 16 feet long. The big door is actually from still-another cabinet, pulled from the pile left on the street. To make it work, the opening behind it had to be made smaller, a nifty trick made possible with the addition of wooden pieces cut to size.
And, just because obtainium is involved there’s no rule which says you can’t add a little fun and decor, in this case shelving in the form of a whale, something that had been placed on the street…
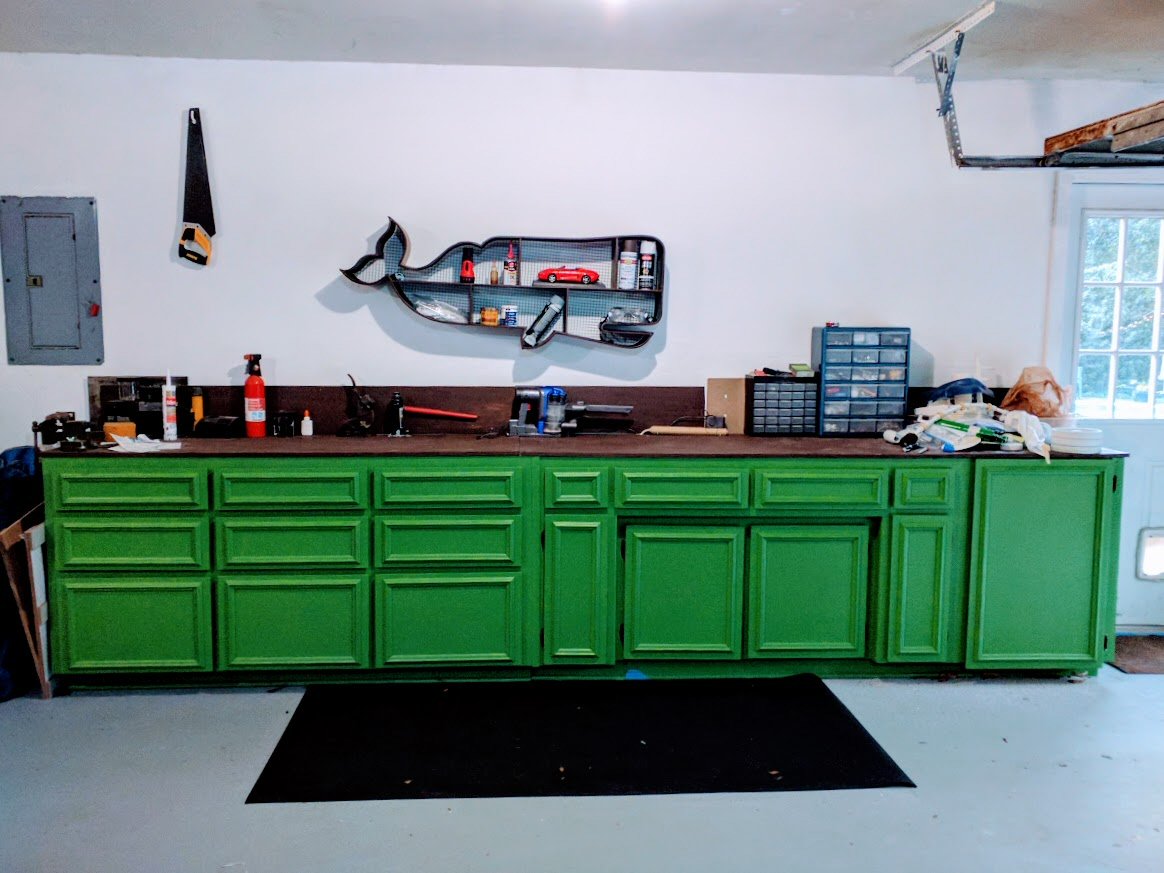
Color scheme
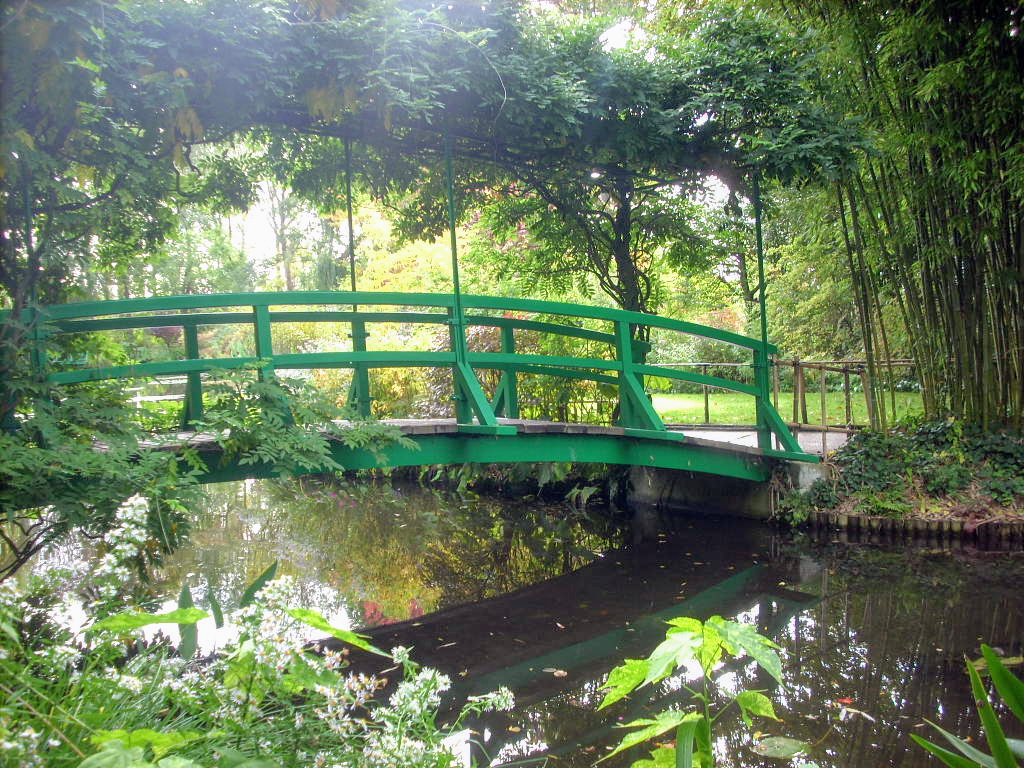
Oh, and where did the green color come from? It was a color at the hardware store I thought would brighten the garage. The green provided a good contrast with the white walls, but once the cabinets were done I realized I had seen it before on a small bridge at Monet’s home in Giverny.
Two and a half walls are done, the cabinets are in place, plus the electricians and plumbers are finished. Most of a third wall is next, as well as painting the rest of the floor and ceiling. The fourth wall is largely the garage door.
The other half of the wreckage was hauled from the garage with a special pick-up. The fee was $15. And, if someone saw something useful in the pile and wanted to take it before the big city truck came along, that’s okay. After all, the first rule of the obtainium culture is to help the next person.